

Hello everyone! 👋
It’s been a while since our last update, and we’ve been working on several systems that tie directly into the progression flow we’ve been building. This time we’re covering crystal fusion, dungeon tokens, infusion boxes, and the initial zones we’ll be testing with.
Important: we're still in development. Values and mechanics may change as we test, balance, and gather feedback.
At a Glance
- Crystal Fusion extended: Dyad crystals now available for all tiers, not just Niveot
- Dungeon Tokens introduced as a guaranteed reward track for running dungeons
- Infusion Boxes replace individual infusion drops, simplifying loot and inventory
- Initial testing scope defined: a curated set of zones and dungeons
Crystal Fusion: Dyad Crystals for Every Tier
If you played TERA at level 65, you probably remember Crystal Fusion and Dyad Niveot crystals. They’re the upgraded version of Fine crystals: stronger primary effect and a bonus secondary effect. To create one, you used Dyad Niveot Structures or Smart Dyad Niveot Structures to fuse three Fine Niveots into a single Dyad Niveot.
The problem is that this only existed for Niveot (Tier 7). Lower-tier crystals had no equivalent. Since we’re building progression from level 1 up, we’ve extended the Dyad system to every crystal tier, from Rhomb all the way through Crux. The mechanics are exactly the same as the original Niveot version, just available earlier.
How It Works
Each tier now has its own Dyad Structure and Smart Dyad Structure:
- Dyad Structure: fuse 3 Fine crystals of the same tier into a Dyad crystal with a random primary and secondary effect
- Smart Dyad Structure: fuse 3 Fine crystals of the same type into a Dyad crystal that keeps the primary effect of the input crystals, with a random secondary
This is the same behavior as the original Niveot structures, just available at every tier.
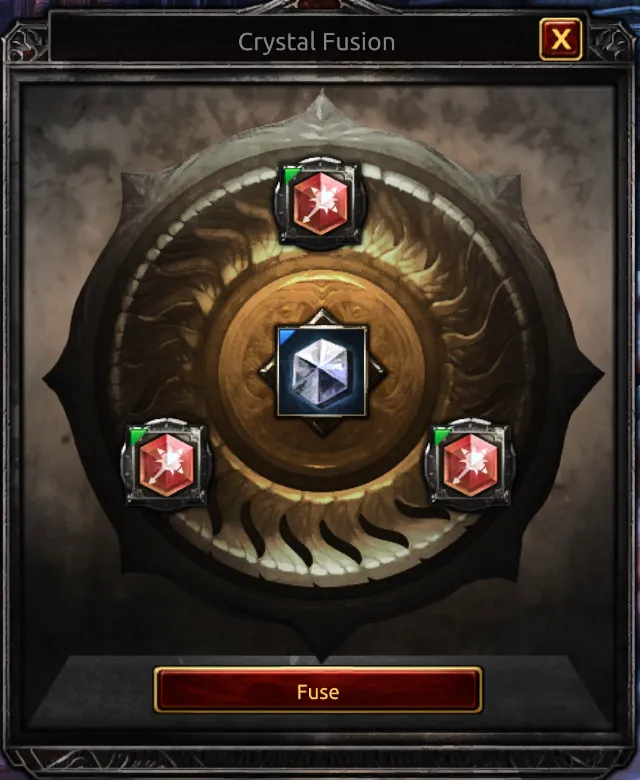
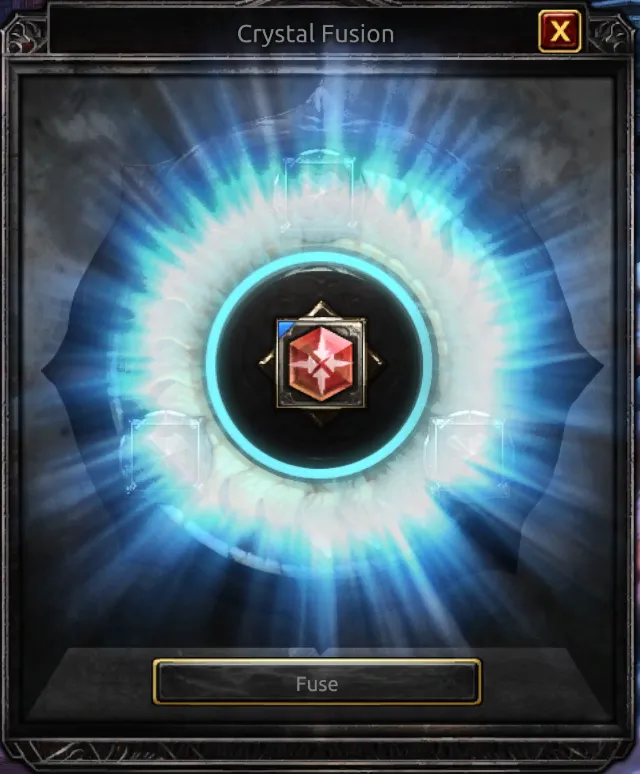
On success, the three Fine crystals are consumed and you receive a single Dyad crystal with dual effects.
Where Do Crystals and Structures Come From?
Monsters drop Crystal Boxes (Weapon and Armor variants) that match the tier of the zone you’re in. Opening a box gives you one random Fine crystal. These boxes are tradable, so if you have extra weapon crystals but need armor crystals, you can trade with other players.
Dyad Structures and Smart Dyad Structures are boss drops. Smart Dyad Structures are significantly rarer, so getting the exact Dyad crystal you want takes some effort.
Dungeon Tokens
We want every dungeon run to feel rewarding, not just at endgame but during leveling too. Random drops are exciting, but they can also leave you empty-handed after a long session. Dungeon Tokens are our answer to that.
How It Works
Dungeon bosses now drop tokens exclusive to that dungeon (for example, “Bastion of Lok Token” or “Sinestral Manor Token”). Right-clicking a token opens that dungeon’s Token Exchange, where you can spend tokens on progression items.
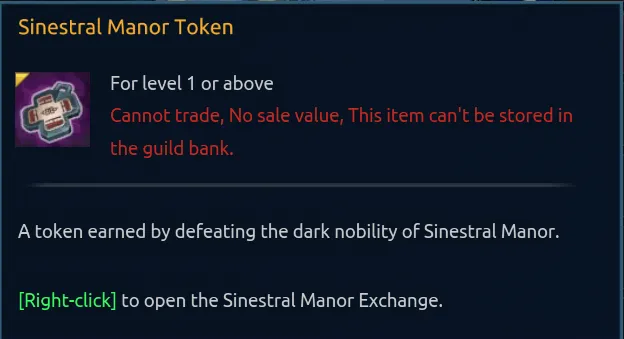
Right-clicking the token opens the exchange shop directly:
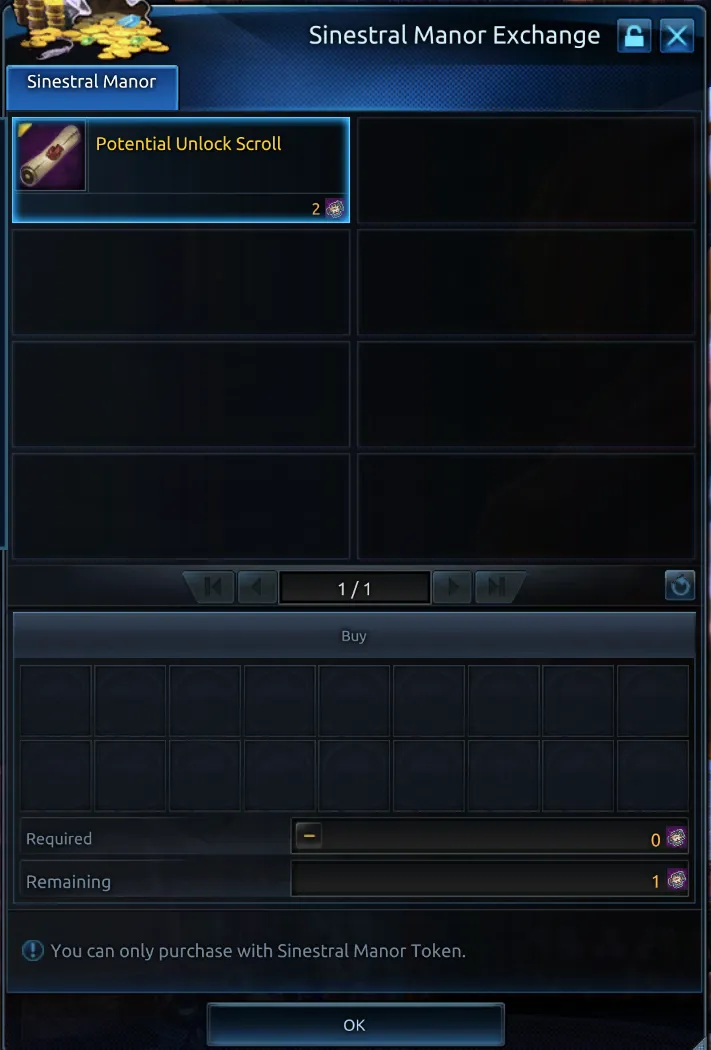
Each dungeon run awards roughly 3 tokens, giving every run tangible value regardless of what drops from the boss. Tokens are untradable and represent your personal effort in that dungeon.
What Can You Buy?
For now, the first item available in every token shop is the Potential Unlock Scroll (2 tokens). As covered in Part 3, this scroll opens the branching path to Flawless (Mythic) gear, letting you unlock a second evolution route on your equipment to max out its potential.
We also plan to add exclusive cosmetics, mounts, and other rewards tied to specific dungeons in the future. The idea is that each dungeon builds its own identity and gives players a reason to come back, even after they’ve outgeared the drops.
Infusion Boxes
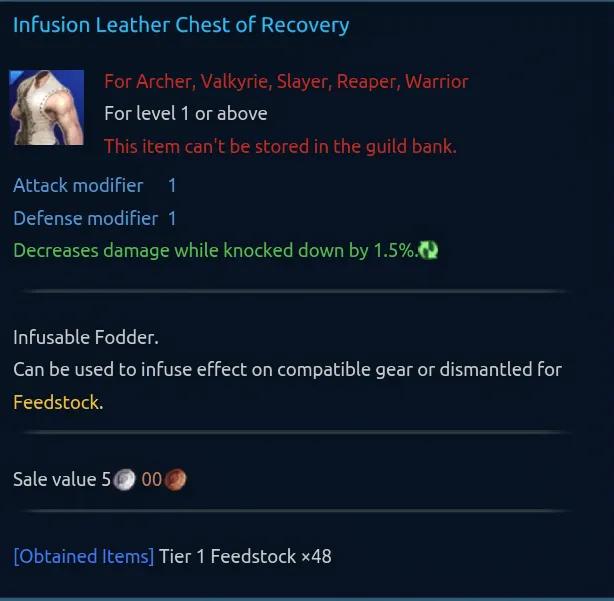
In Part 1, we explained how infusion gear works: fodder items drop from monsters, each with a single known stat, and you either apply them to your gear for min/maxing or dismantle them into Feedstock for enchanting.
Previously, individual infusion items dropped directly from monsters, which meant loot tables were enormous and your inventory would fill up fast while farming. We’ve simplified this with Infusion Boxes.
How It Works
Instead of dropping dozens of different fodder items, monsters now drop Infusion Boxes in three rarity grades:
- Uncommon: base-level stat rolls
- Rare: better stats
- Superior: strongest stats
Each box is also tied to an equipment slot: Weapon, Chest, Gloves, or Boots. Opening a box gives you one random infusion piece matching that slot and grade.
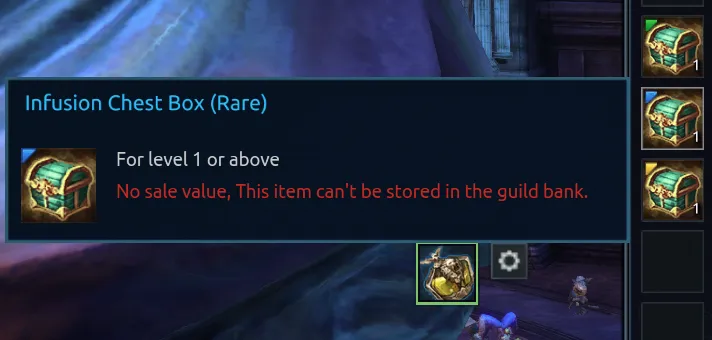
Both the boxes and the infusion gear you get from them are tradable, which means players can buy and sell them on the Trade Broker. If you don’t need weapon infusions but another player does, the market takes care of it.
Drop Rates (Preliminary)
| Mob Type | Uncommon | Rare | Superior |
|---|---|---|---|
| Normal | 10% | 1% | 0.1% |
| Elite | 25% | 5% | 0.5% |
| Boss | 50% | 10% | 1% |
These rates are subject to change. We’ll be adjusting them throughout testing.
Why This Matters for Progression
One important detail: infusion gear is useful regardless of the zone it drops in. A low-level infusion piece with the right stat is just as valuable for min/maxing endgame gear as one from a high-level zone. This makes progression more horizontal: farming lower-level content for infusion materials stays relevant at every stage of the game, not just the current endgame dungeon cycle.
To prevent high-level characters from farming low-level zones too easily, we’ll configure the server to significantly reduce drops in those cases.
Initial Testing Scope
Since we’re changing a lot of systems at once, we’ve decided to limit the initial testing scope to a curated set of zones and dungeons. This lets us focus on getting the core experience right before expanding.
During early testing, only the following areas will be accessible:
Open-World Zones
- Fey Forest
- Oblivion Woods
- Tuwangi Mire
- Valley of Titans
- Celestial Hills
- Vale of the Fang
- Paraanon Ravine
- Cliffs of Insanity
Dungeons
- Bastion of Lok
- Sinestral Manor
Zones outside this scope won’t be accessible during the initial tests. This is intentional. It reduces friction if we need to change mechanics that aren’t working, and it prevents scope creep from overwhelming us while we iron out the fundamentals.
As the core systems stabilize, we’ll open up more zones and dungeons progressively.
What’s Next
Everything in this update ties together: Crystal Boxes drop from zones, Crystal Fusion turns Fine crystals into powerful Dyads, Dungeon Tokens guarantee steady progression, and Infusion Boxes keep farming clean while feeding into the gear customization system from Part 1.
We’re getting closer to a testable build, and these systems are the foundation for everything that comes after. As always, we’ll keep you posted as things evolve.
See you next time! 🛠️